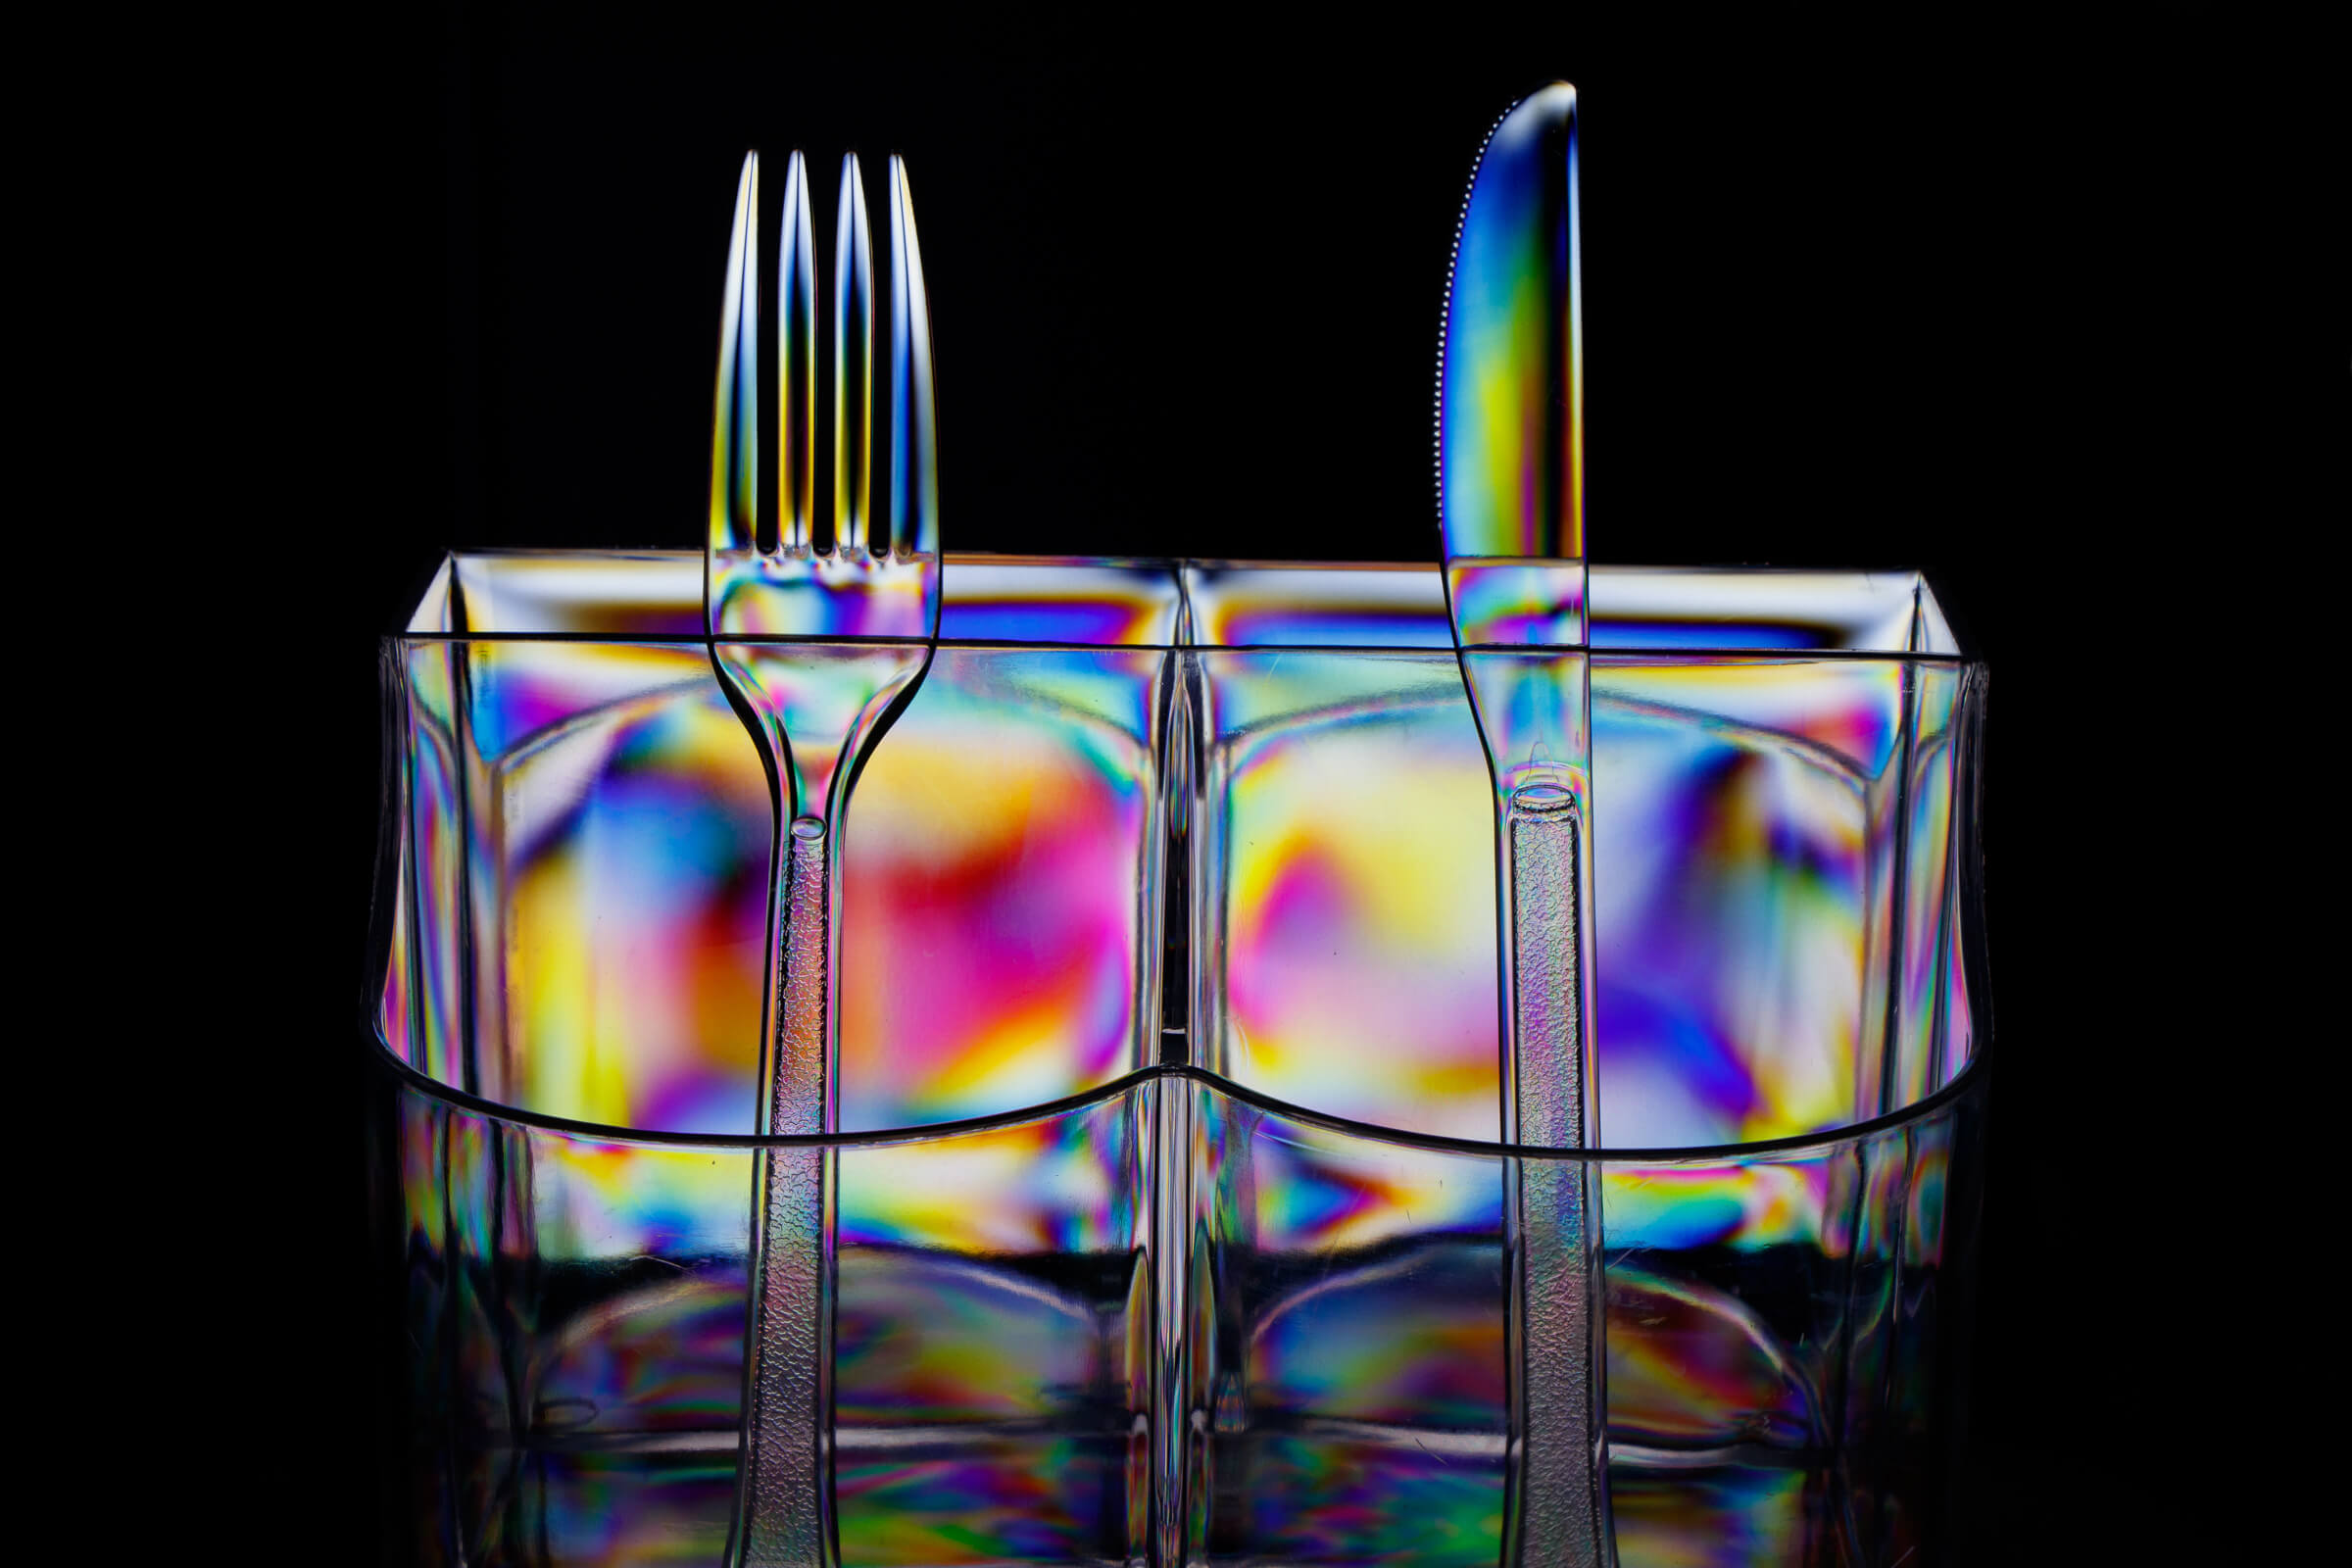
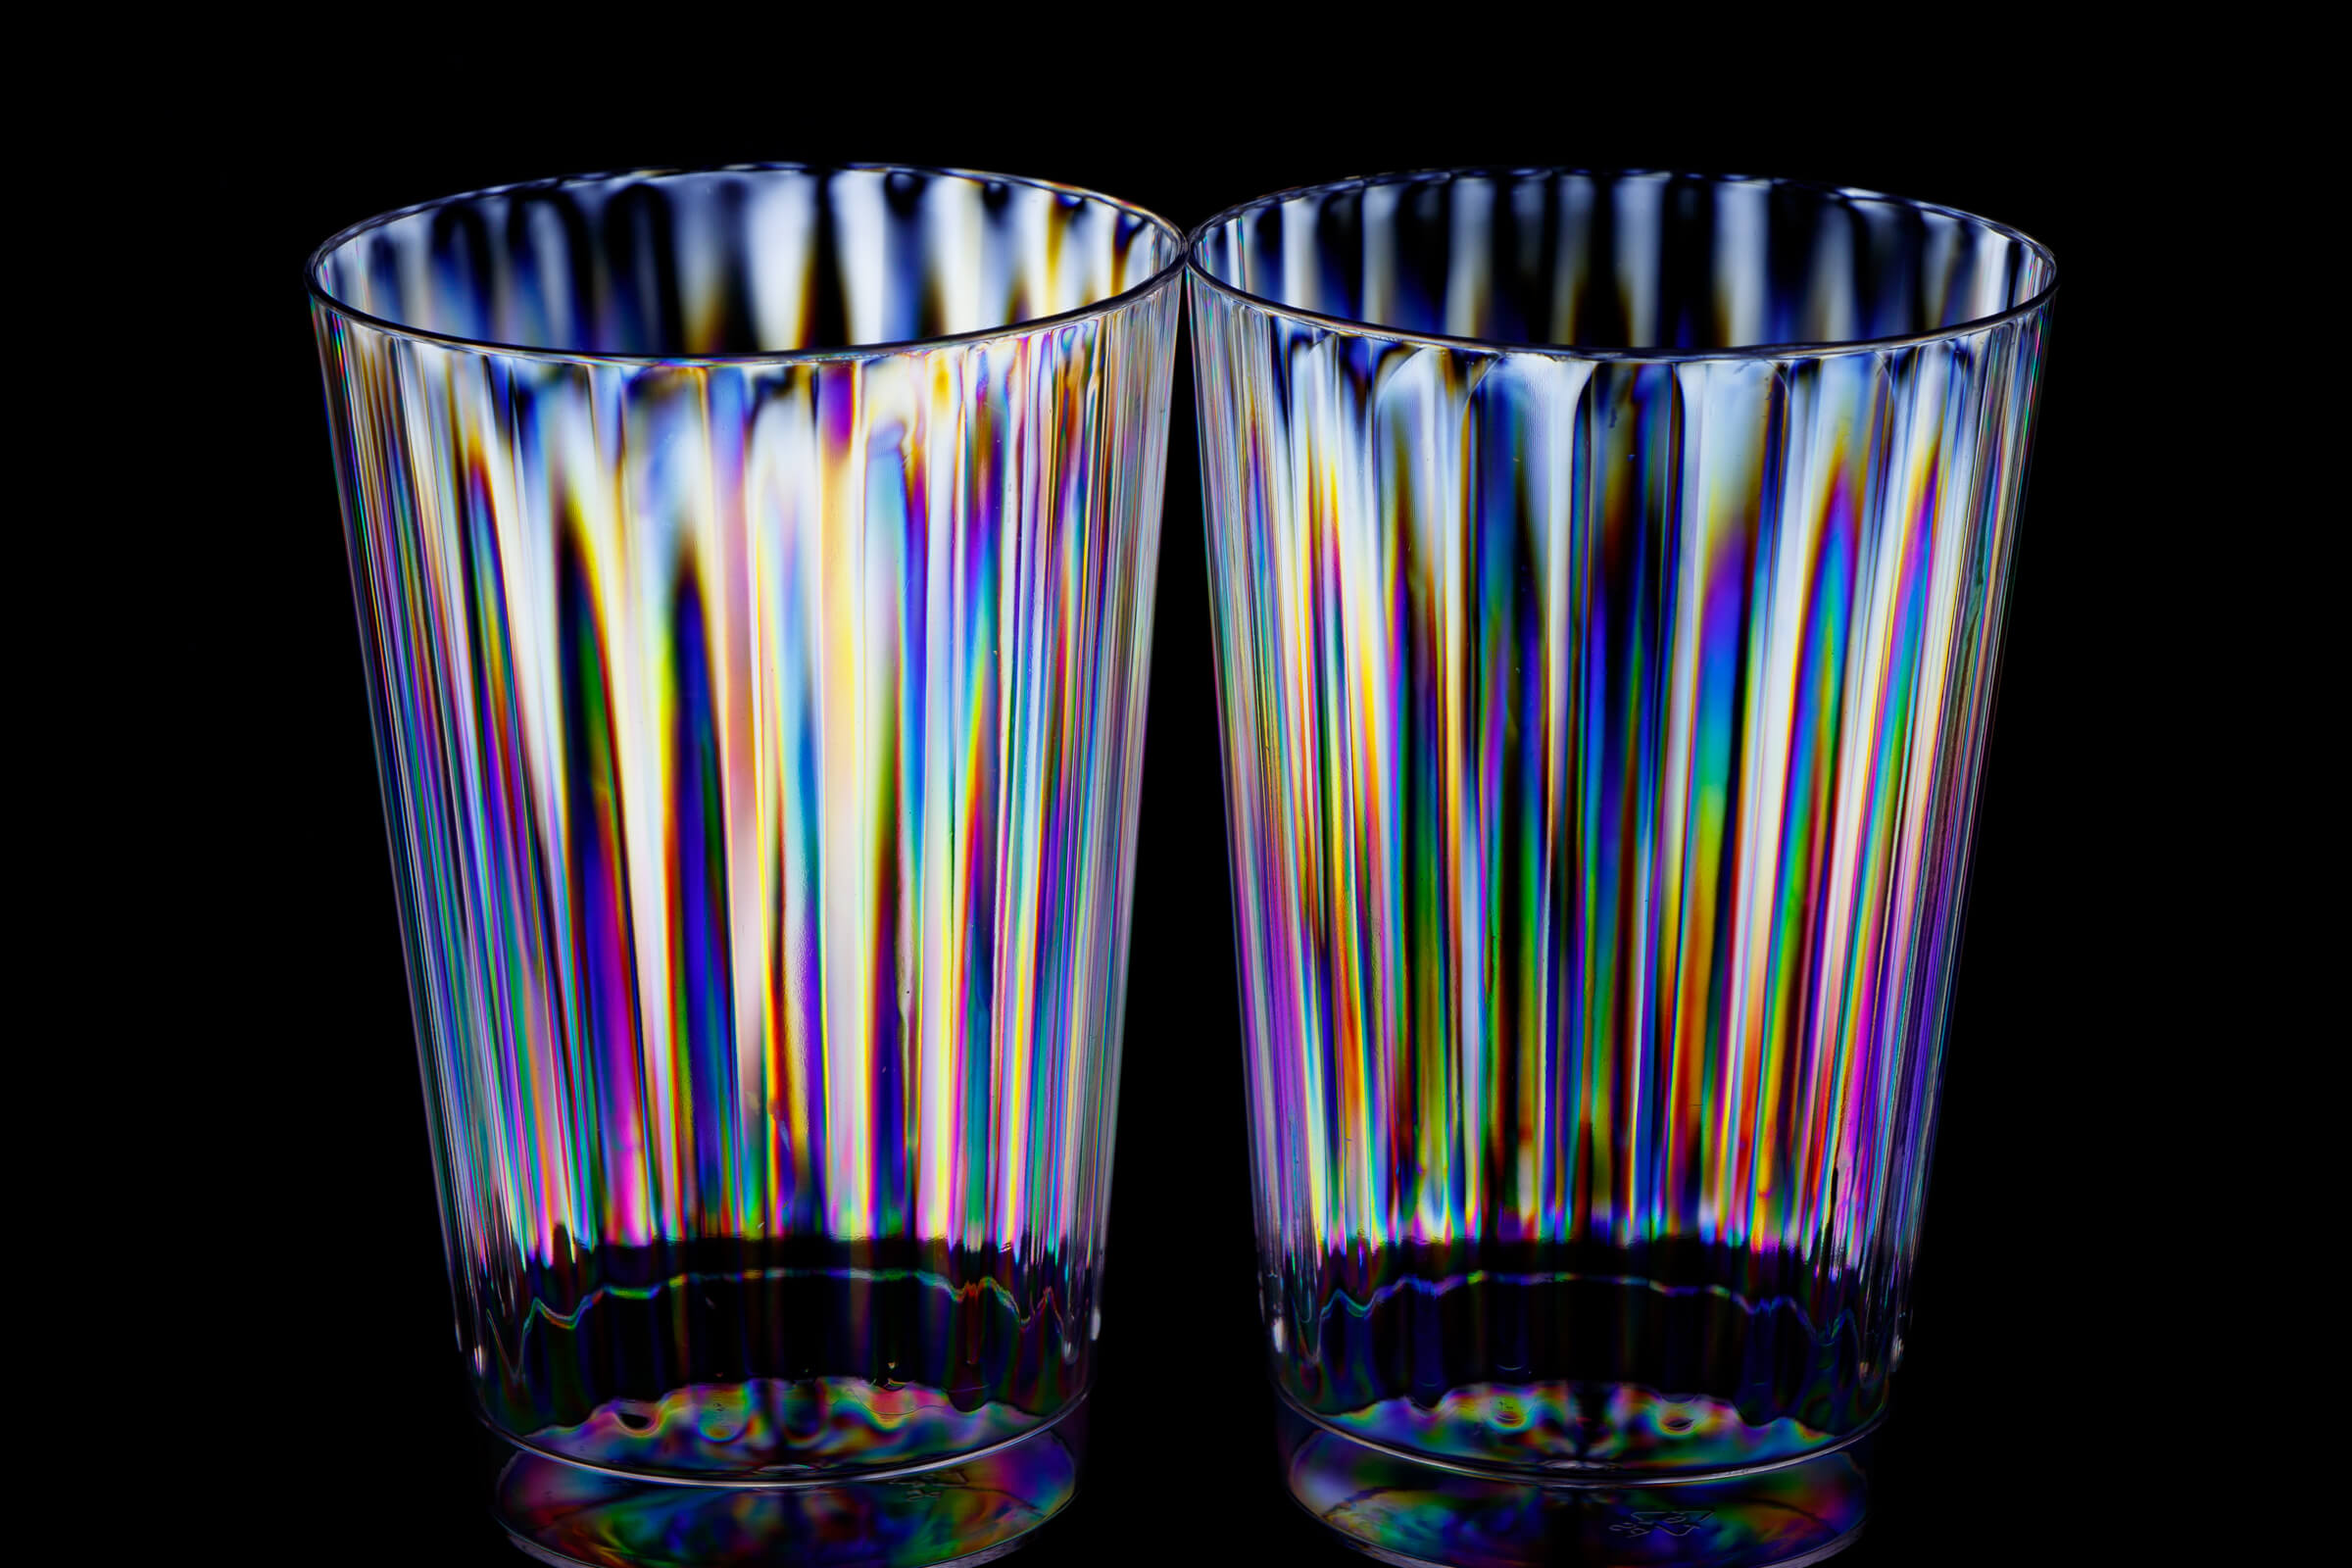
What happens when you place certain transparent objects in front of a polarized light source using a polarizing filter? Photoelasticity! I tried this super cool project out and, wow, it is fun. This is an easy project to do and it will make your creativity shine. Plus, you’ll get really artistic photos that will make everyone wonder “how did you do that?” So let’s get to the nitty gritty.
What is photoelasticity? I’m going into science mode here, so bear with me. Photoelasticity determines the stress distribution of certain transparent objects. The stress stored inside the transparent objects causes an interference pattern that can been seen as a rainbow effect. I know, you’re going ‘huh?” Once you see it in action, you’ll understand this, I promise. Now that I’ve explained the science part, how do you capture it?
What you need:
- Clear plastic objects such as CD holders and plastic utensils. Crystal can work as well. Part of the fun of this is to explore what works.
- A polarized light source. What’s makes a good polarized light source? You are looking at it now- your computer or tablet. I used my husband’s 15” laptop for my photos.
- Polarizing filter for the front of your lens.
Here’s the how-to:
- Place the object in front of your light source. I changed the wallpaper on the computer to the color white and turned the brightness all the way up.
- Attach the polarizer to the front of your lens and rotate it until it is completely black indicating full cross-polarization. You will see the rainbow colors appear.
- For camera settings, I worked in manual mode. I used different aperture settings as my camera was on a tripod.
- Very little post processing is needed to get the final result. Maybe darken the blacks if necessary.
That’s all there is to it! Simple and fun to do.
Here’s a couple of my photos and for more photoelasticity visit my album.


